Cruising Sailors Forum Archive
This is a lot of work based on the notion that the finish cockpit in the shop, will fit the old boat in the boat yard.
The template pieces were scribed in the cockpit (a couple months ago) and then the pieces assembled in the shop. The assembled(ungainly) template has never actually been on the boat.
For my own piece of mind; I lowered the template in the shop onto the plywood cockpit deck -- one last time.
With a sharp long bed hand plane and some time, the perimeter edge of the template and the 3/4" deck of the new cockpit were fine tuned. They are now - exactly - one and the same shape.
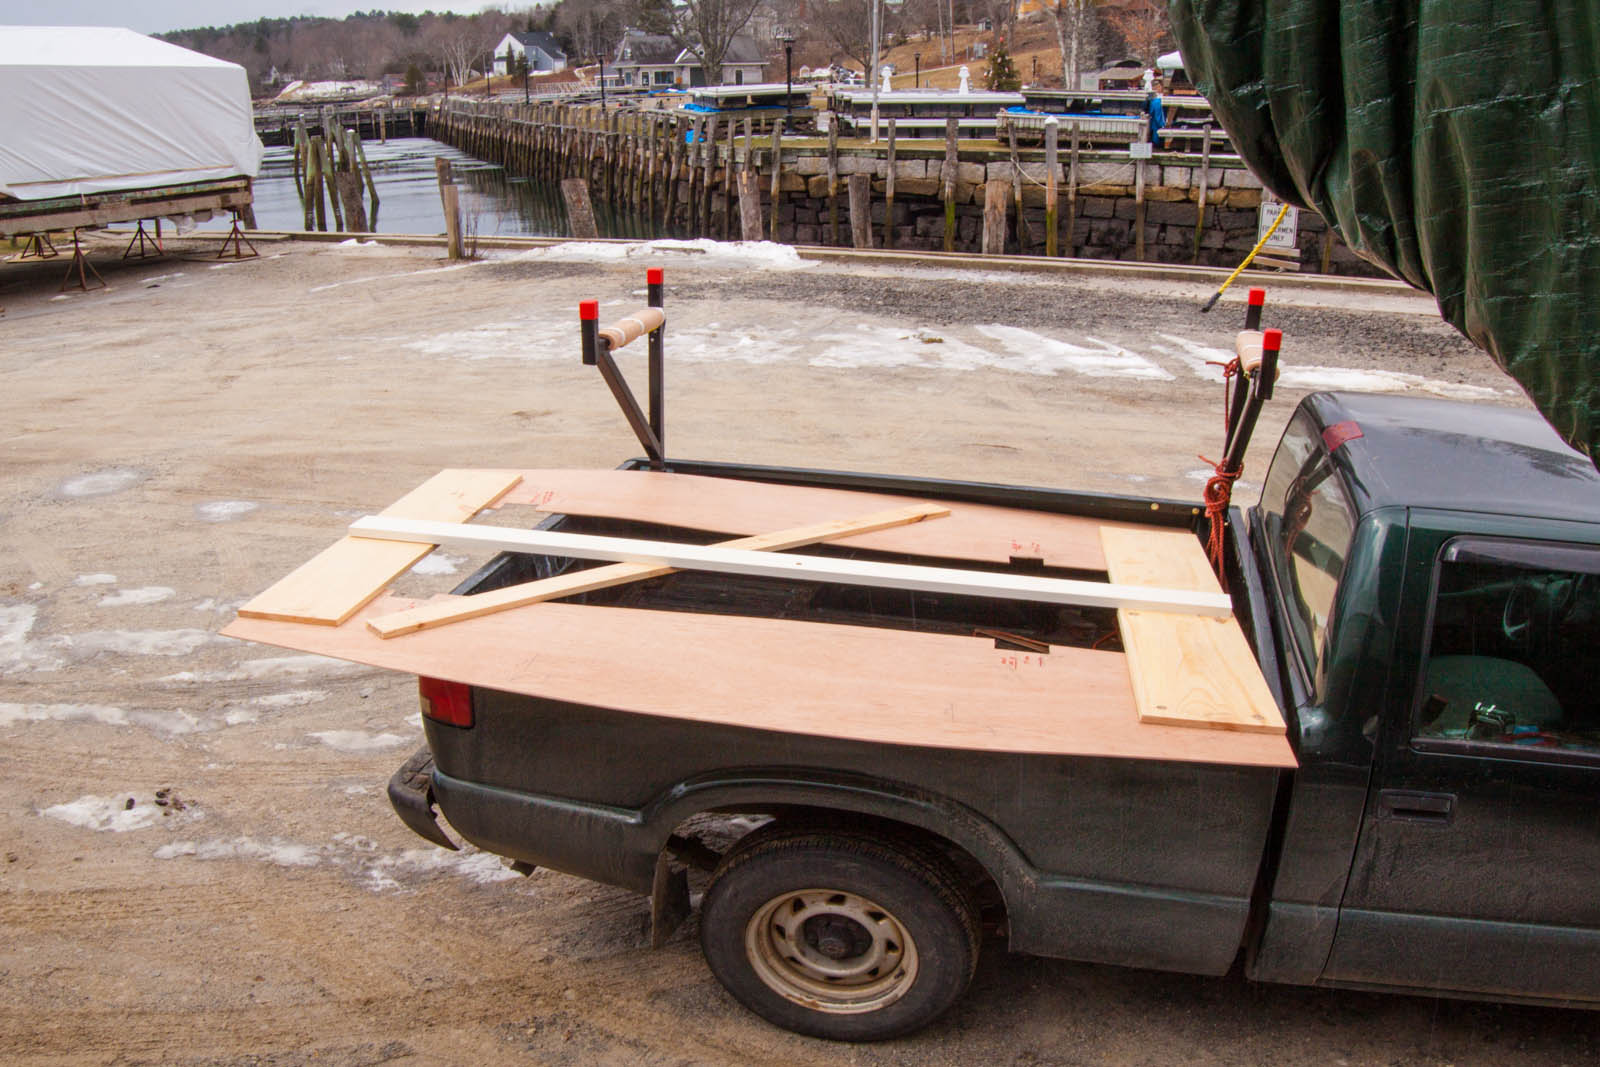
Out the door with the template...
It hangs out of the truck bed but this shows, the finish cockpit will fit in the truck with the gate down (once the lumber rack is removed). Check. Finish weight? 250-300 pounds?
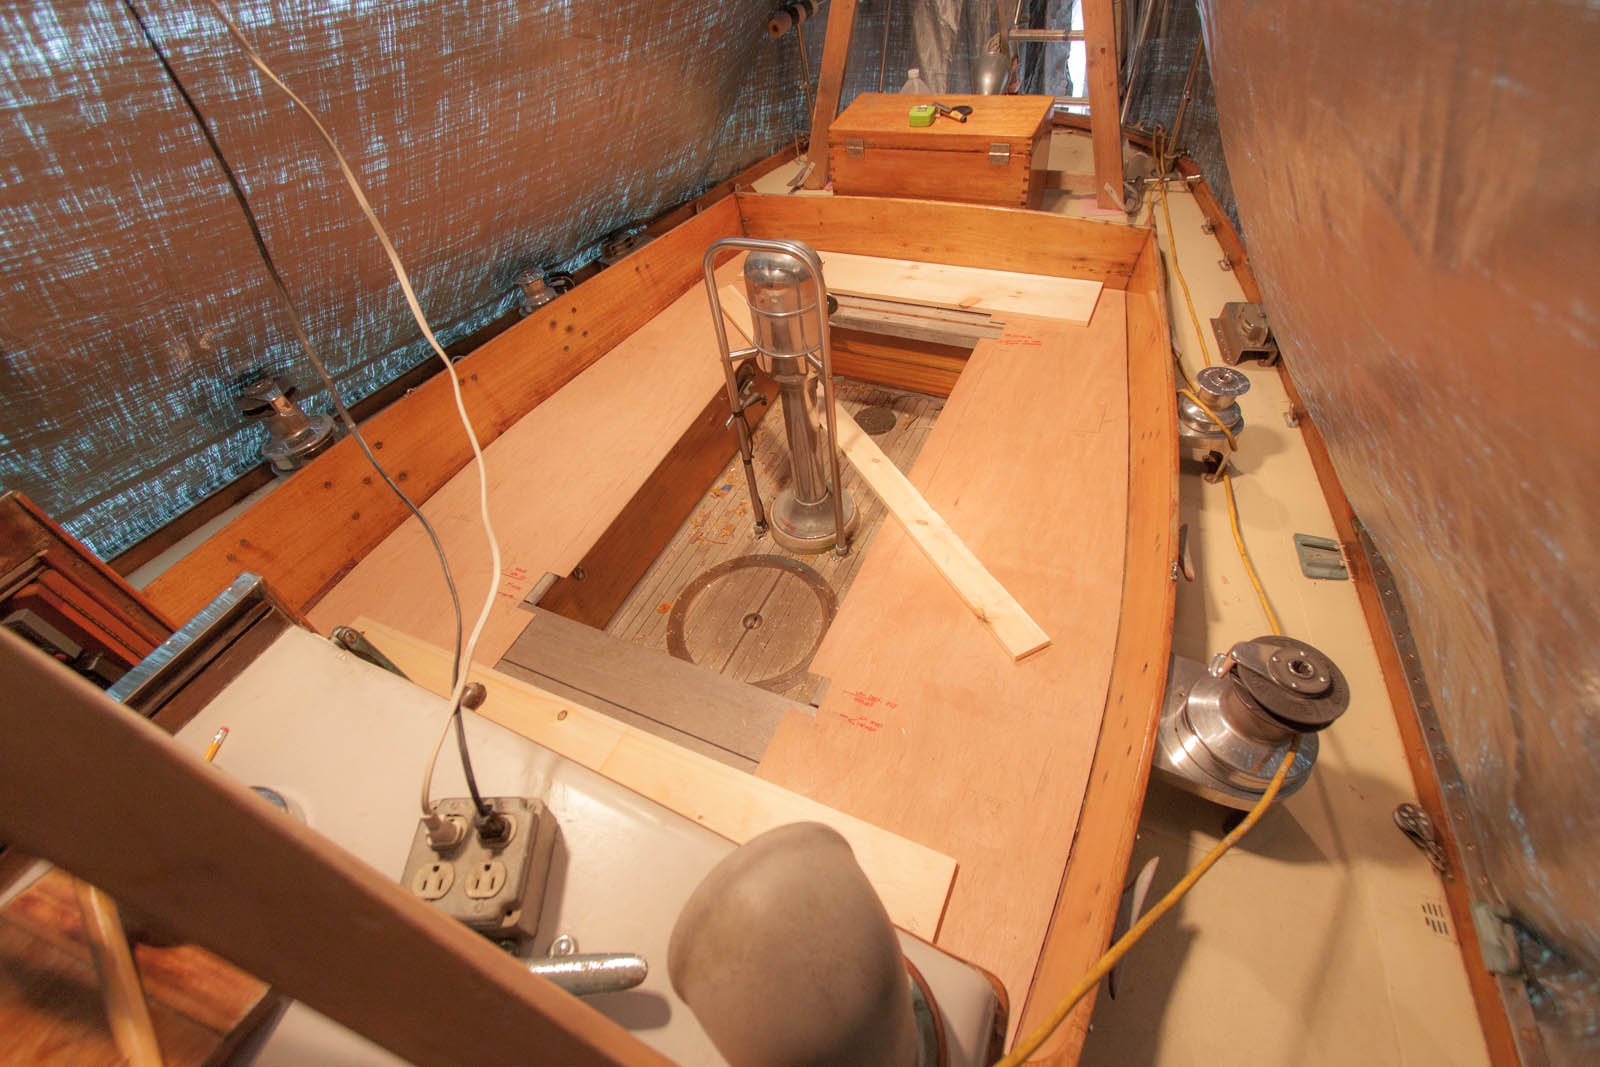
Untying the aft end of the cover, the template was carefully(so as not to jar it's shape) slid up the port topsides and over the rail(nice to have the stanchions removed). After removing the wood center hoisting brace, the template was gently nestled down between the canted coamings and cabin back.
I checked it all around. A good fit. The template can move fore and aft exactly 1/8"(intended). Movement athwartship is 1/16".
Over the rail the template went. It's task is complete; it's now wood scraps.
There is a lot of tearing out to be done under the cover(in warmer days). And the details of the important 'ledge' - to be installed at the bottom edge of the coamings and cabin back that support/fasten the new cockpit perimeter - are a little hazy.
There is also some reworking of the 6 upright posts(re-glassing a few bases that have come loose at the hull) with bolted cross beams that support the new (exactly the same size as the original) well, to be done later in epoxy temps.
With those tasks(and many other fiddly ones) out of the way, I can imagine the new cockpit gently lowered onto the ledge; 1- epoxied and fastened through the new plywood deck flange, 2- the perimeter margin Ipe pieces finish scribed to a 3/16" clearance of the coamings/cabin, final fastened and adhered, 3- the last caulking seam payed.
4-Launch(after a 'few' details).
Messages In This Thread
- A new cockpit; Bullnose trim.
- Pretty neat!

- very nice Tom
- Looks great! Gonna hold it on with a shackle, eh?

- Looks great Tom!
- As I said earlier- with Ipe (and Teak) be sure to have a GOOD mask. The dust is VERY fine. Looks
- Re: A new cockpit; Bullnose trim.
- Before installing the trim and moving onto decking, it was time to re-check step one:
- Pretty neat!