Cruising Sailors Forum Archive
Actually I was not too good at taking "in progress" photos but have put together a bit of a re-enactment.
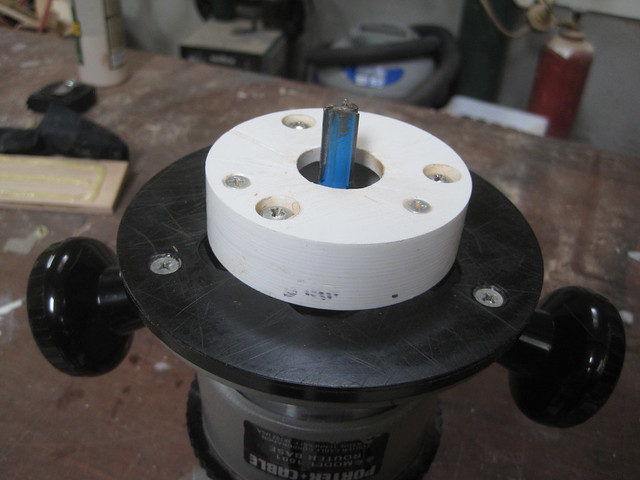
Below is an adaptor for the router to give a 1 1/2" offset. Made with starboard on a drill press acting as a lathe.
Router with plywood pattern. This will make more sense after seeing the photo after this one.
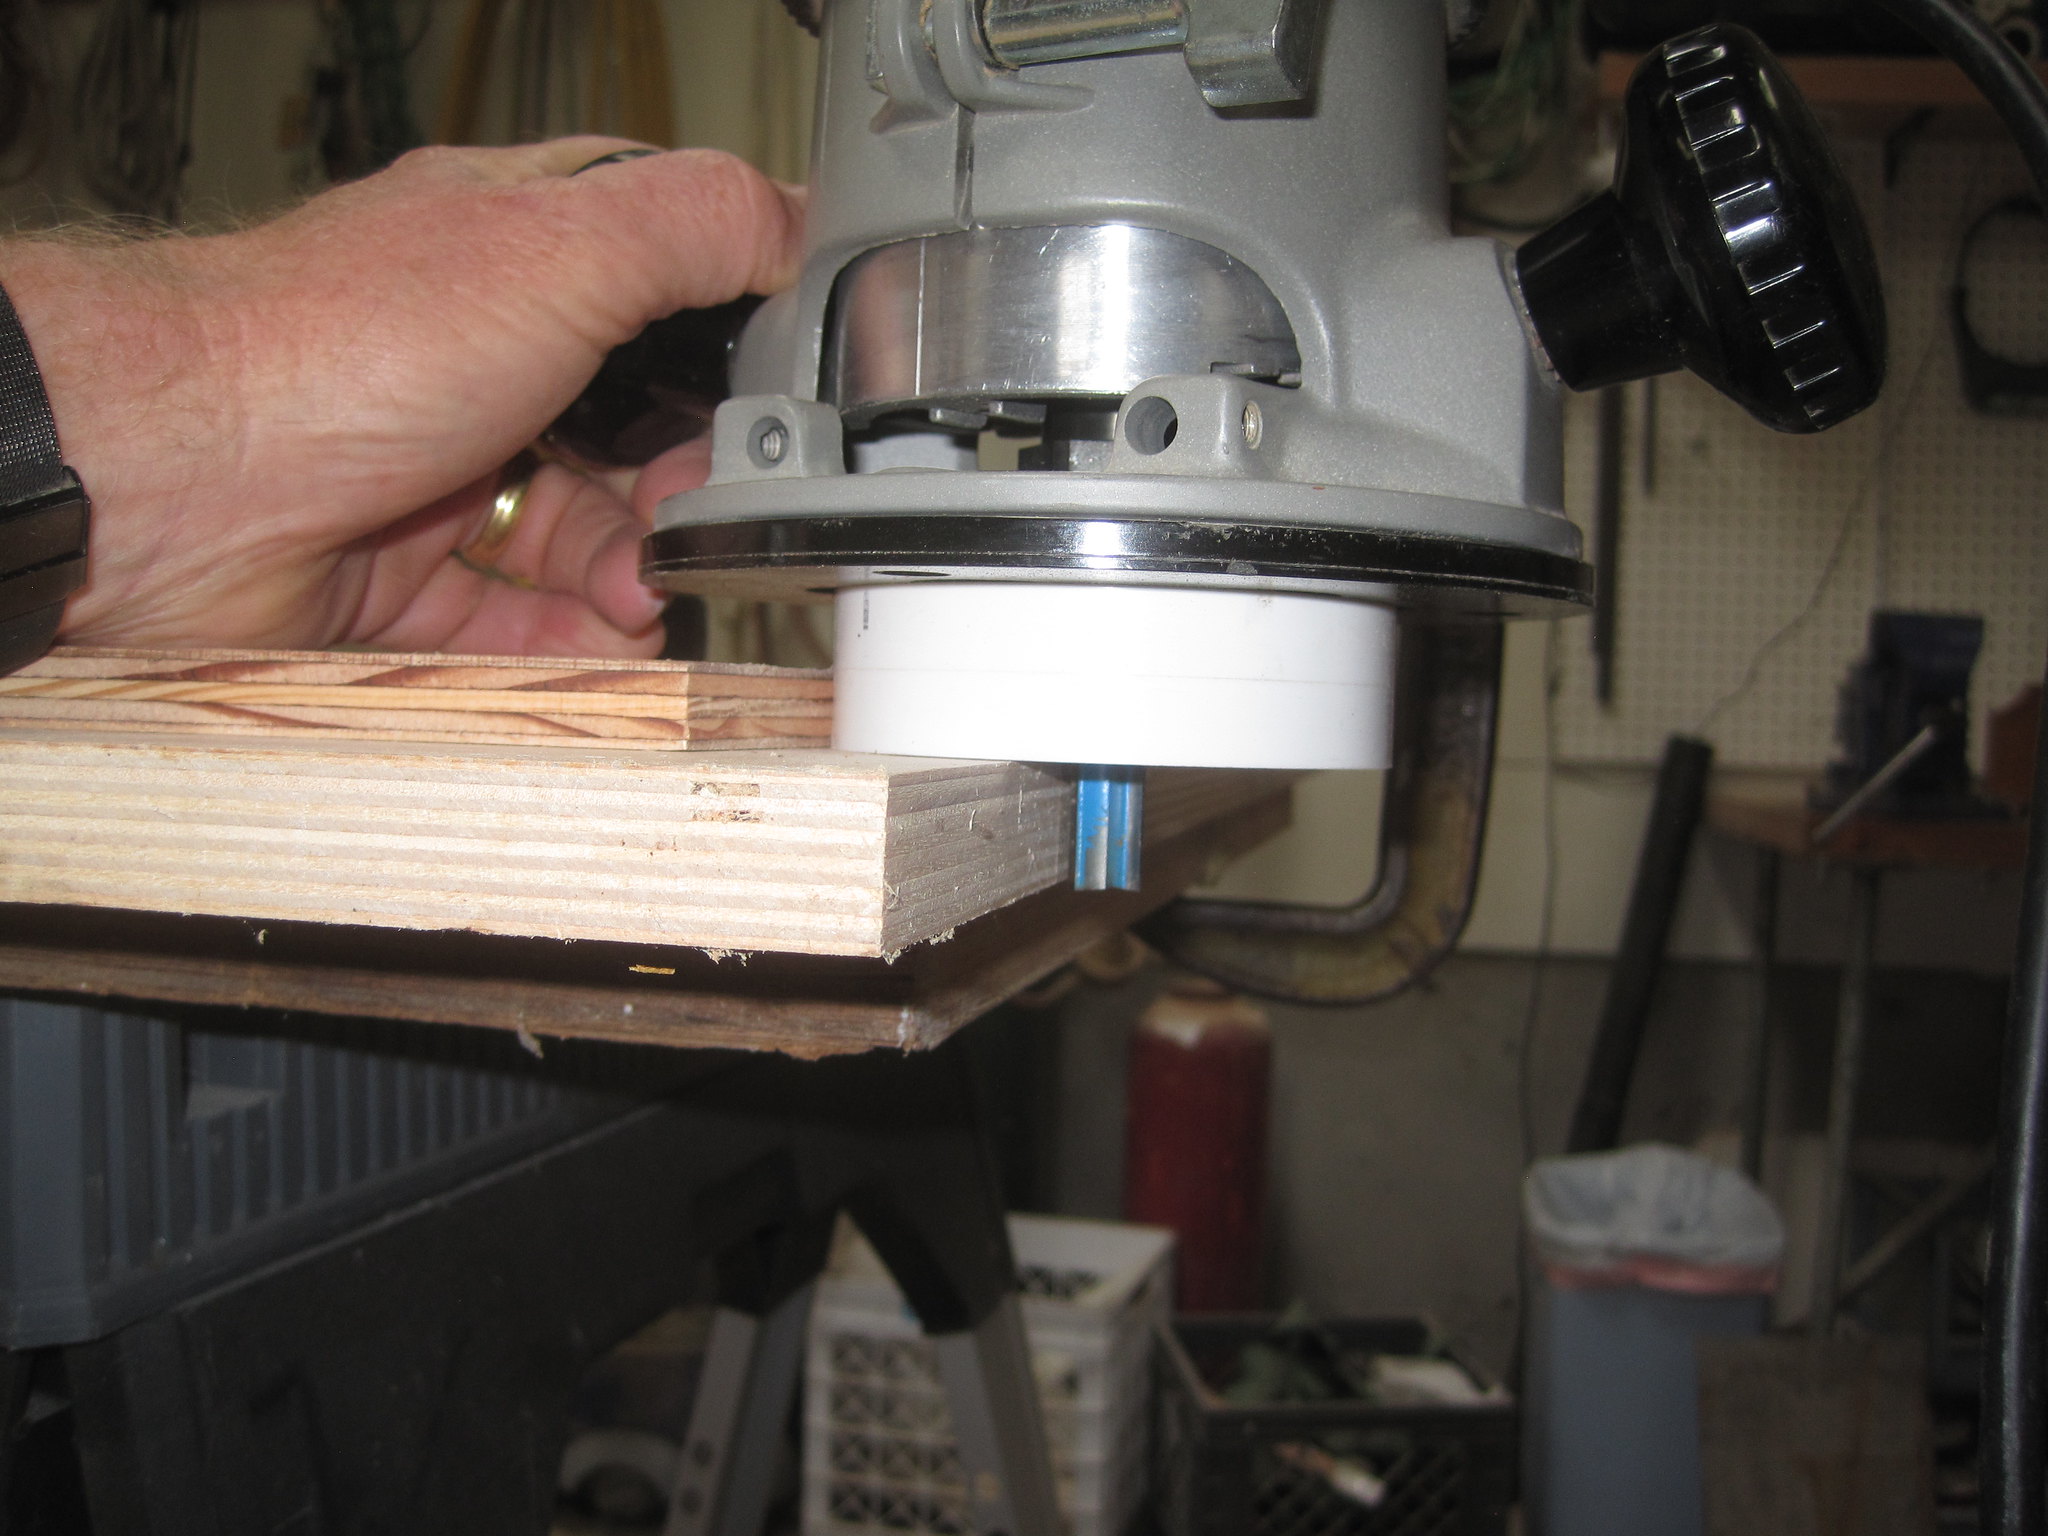
The pattern was made 1 1/2" undersize on all edges. The 3/4" plywood top was cut about 1/8 to 1/4 oversize and trimmed to final shape with the router. The router adaptor gave a consistent radius when going around the sharp corners of the pattern.
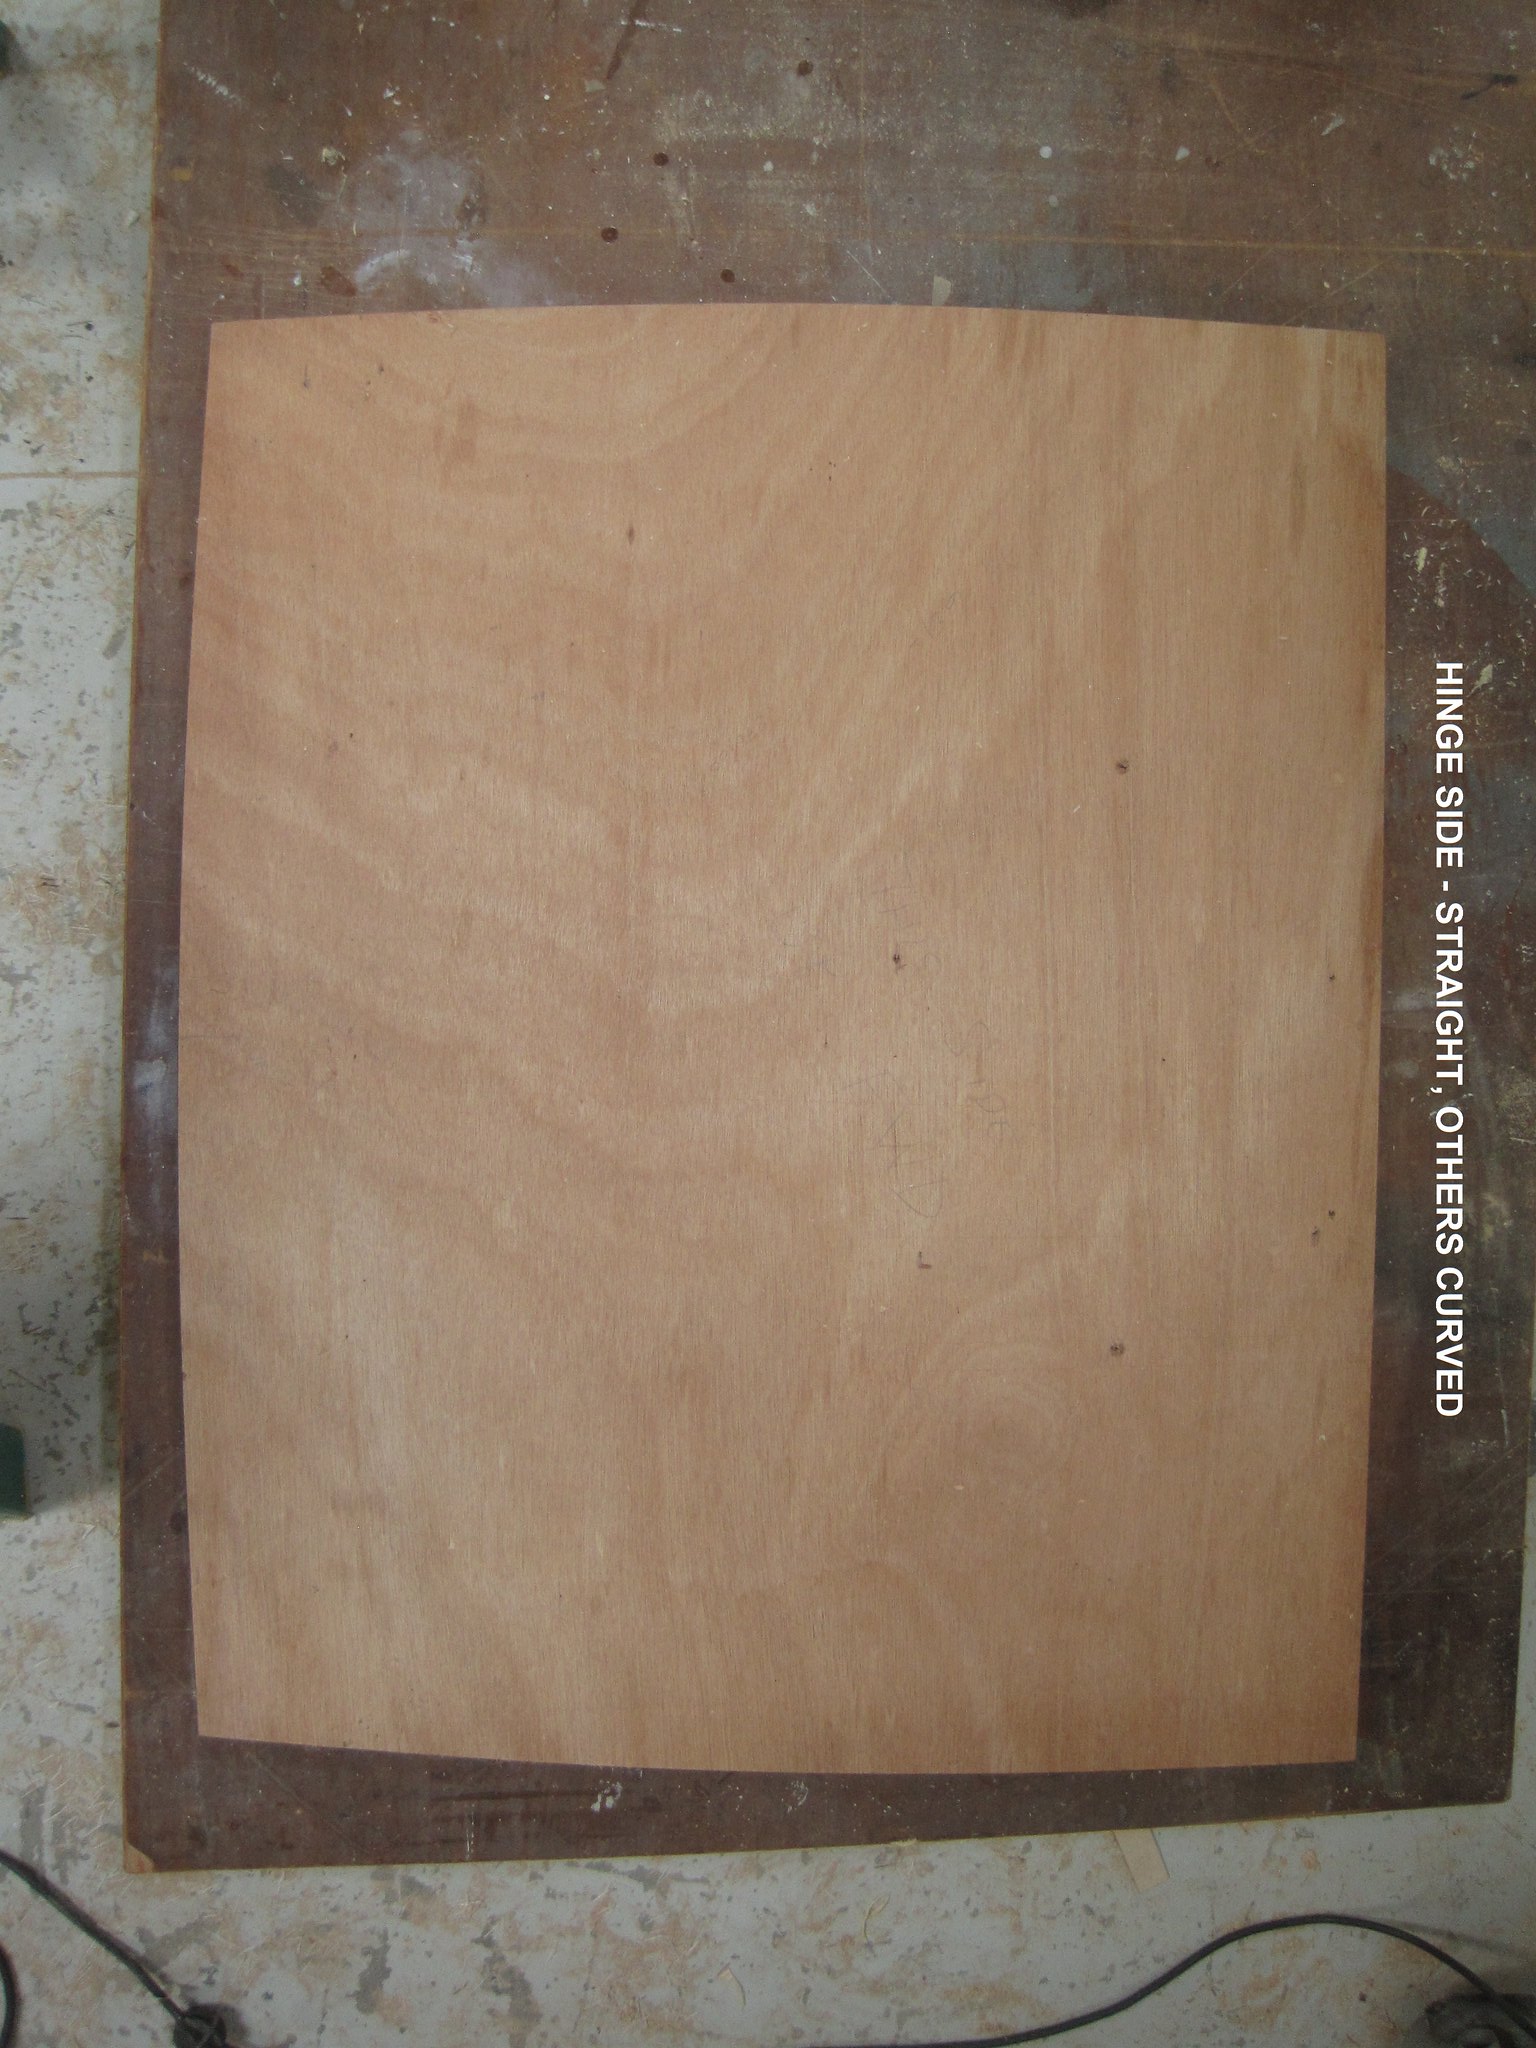
The result after trimming.
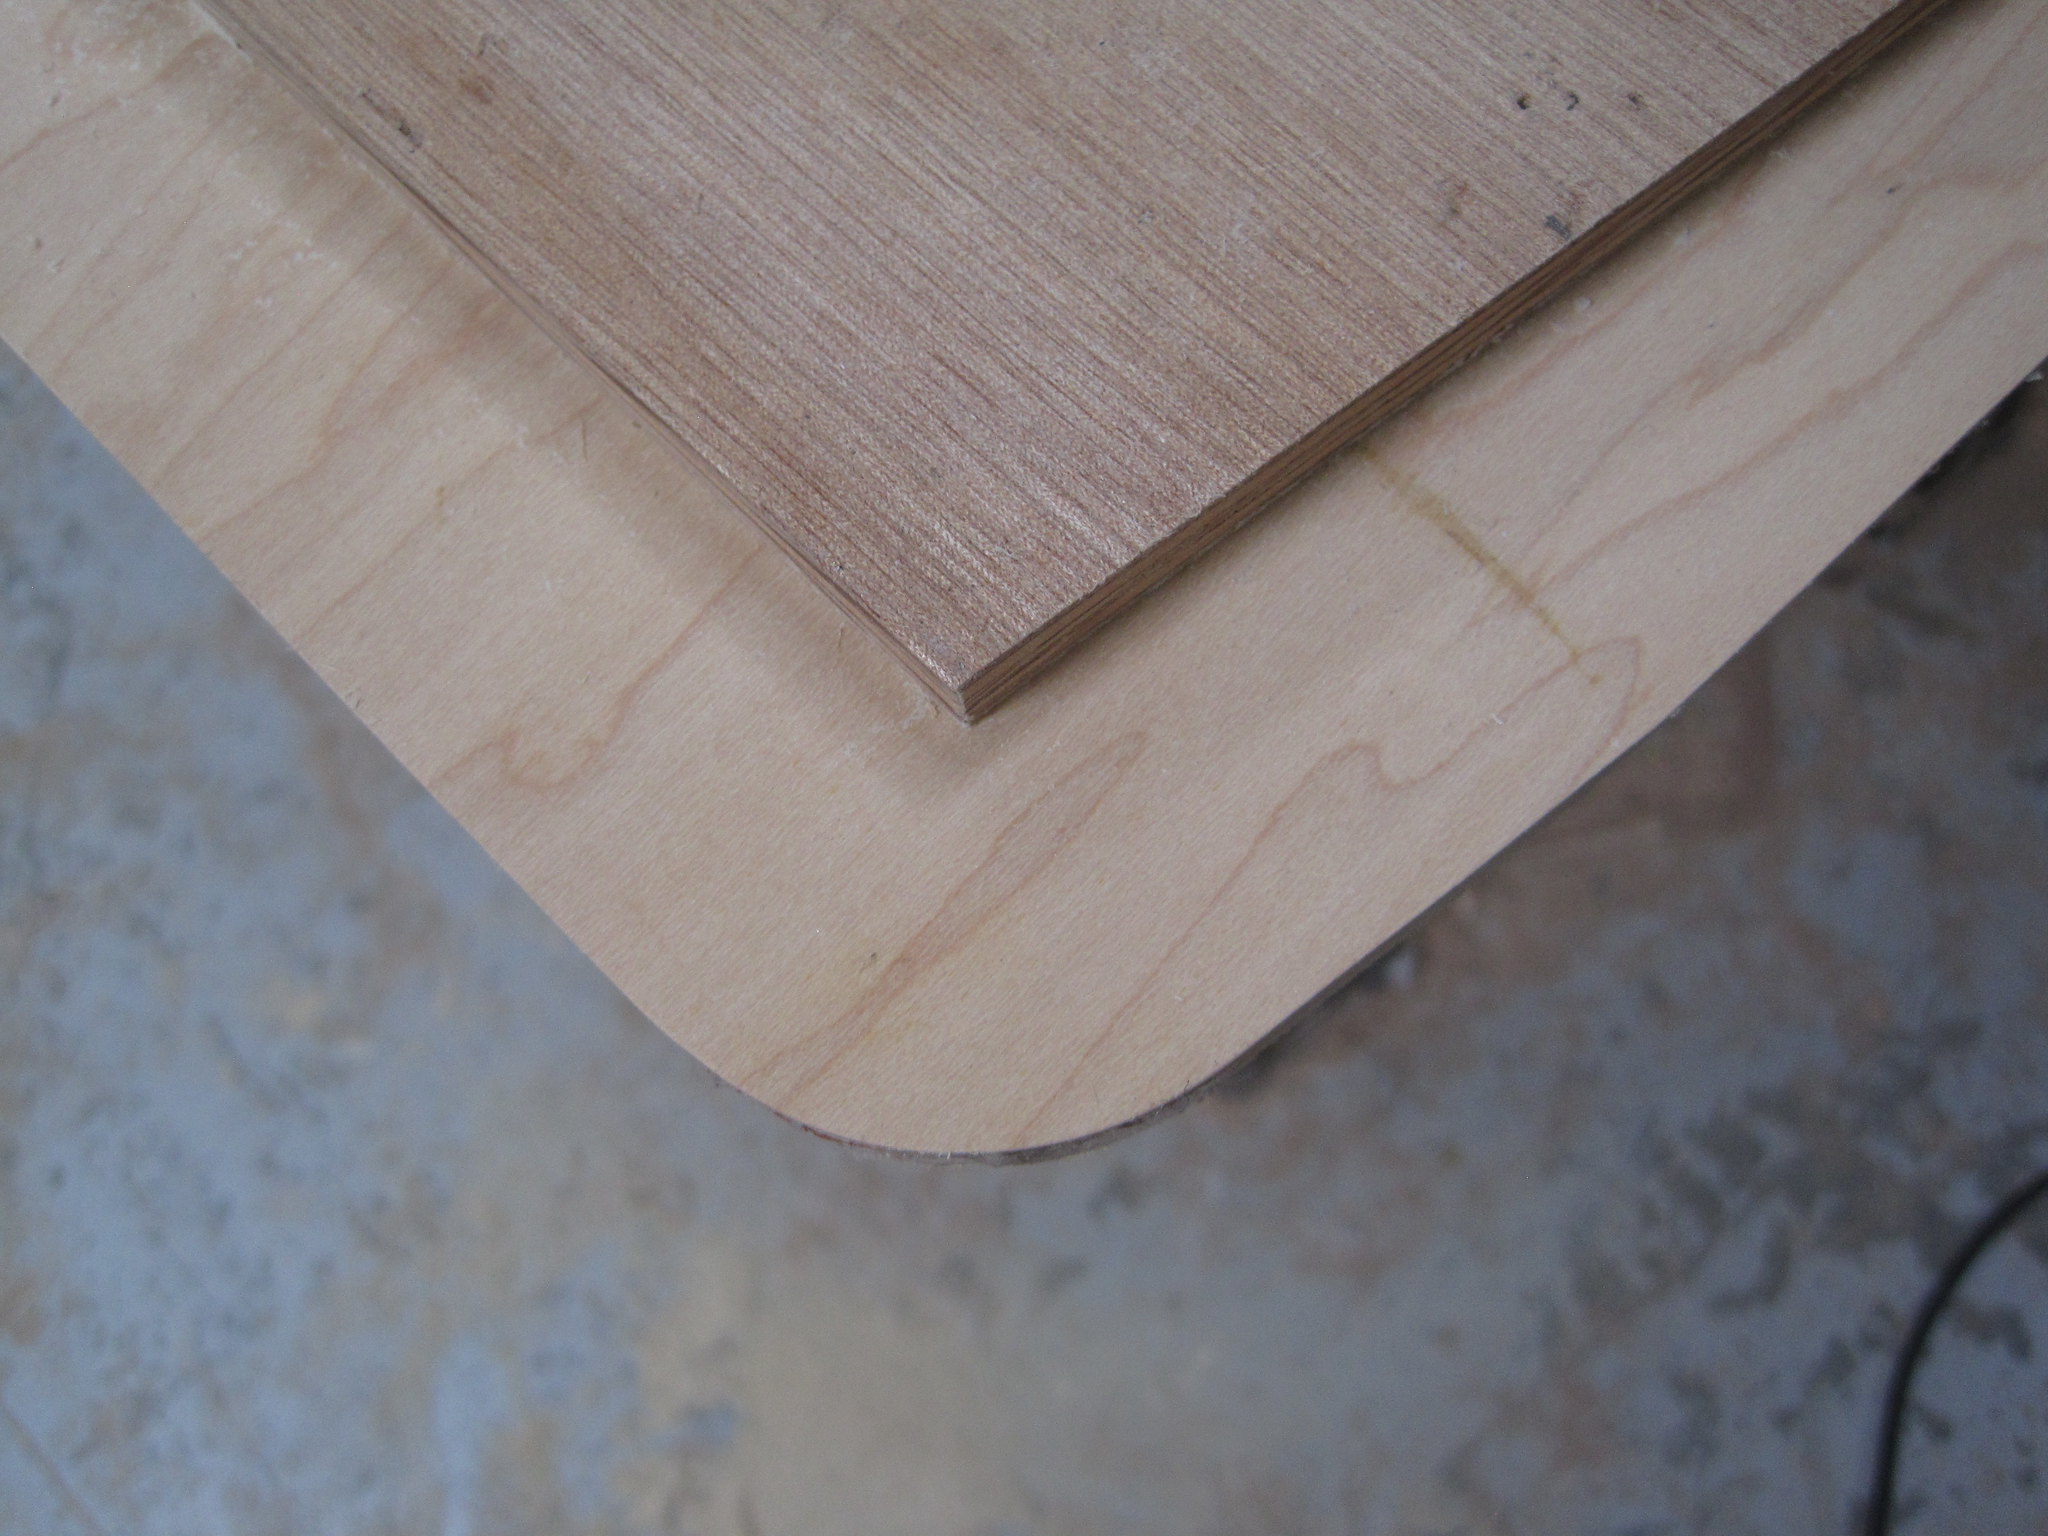
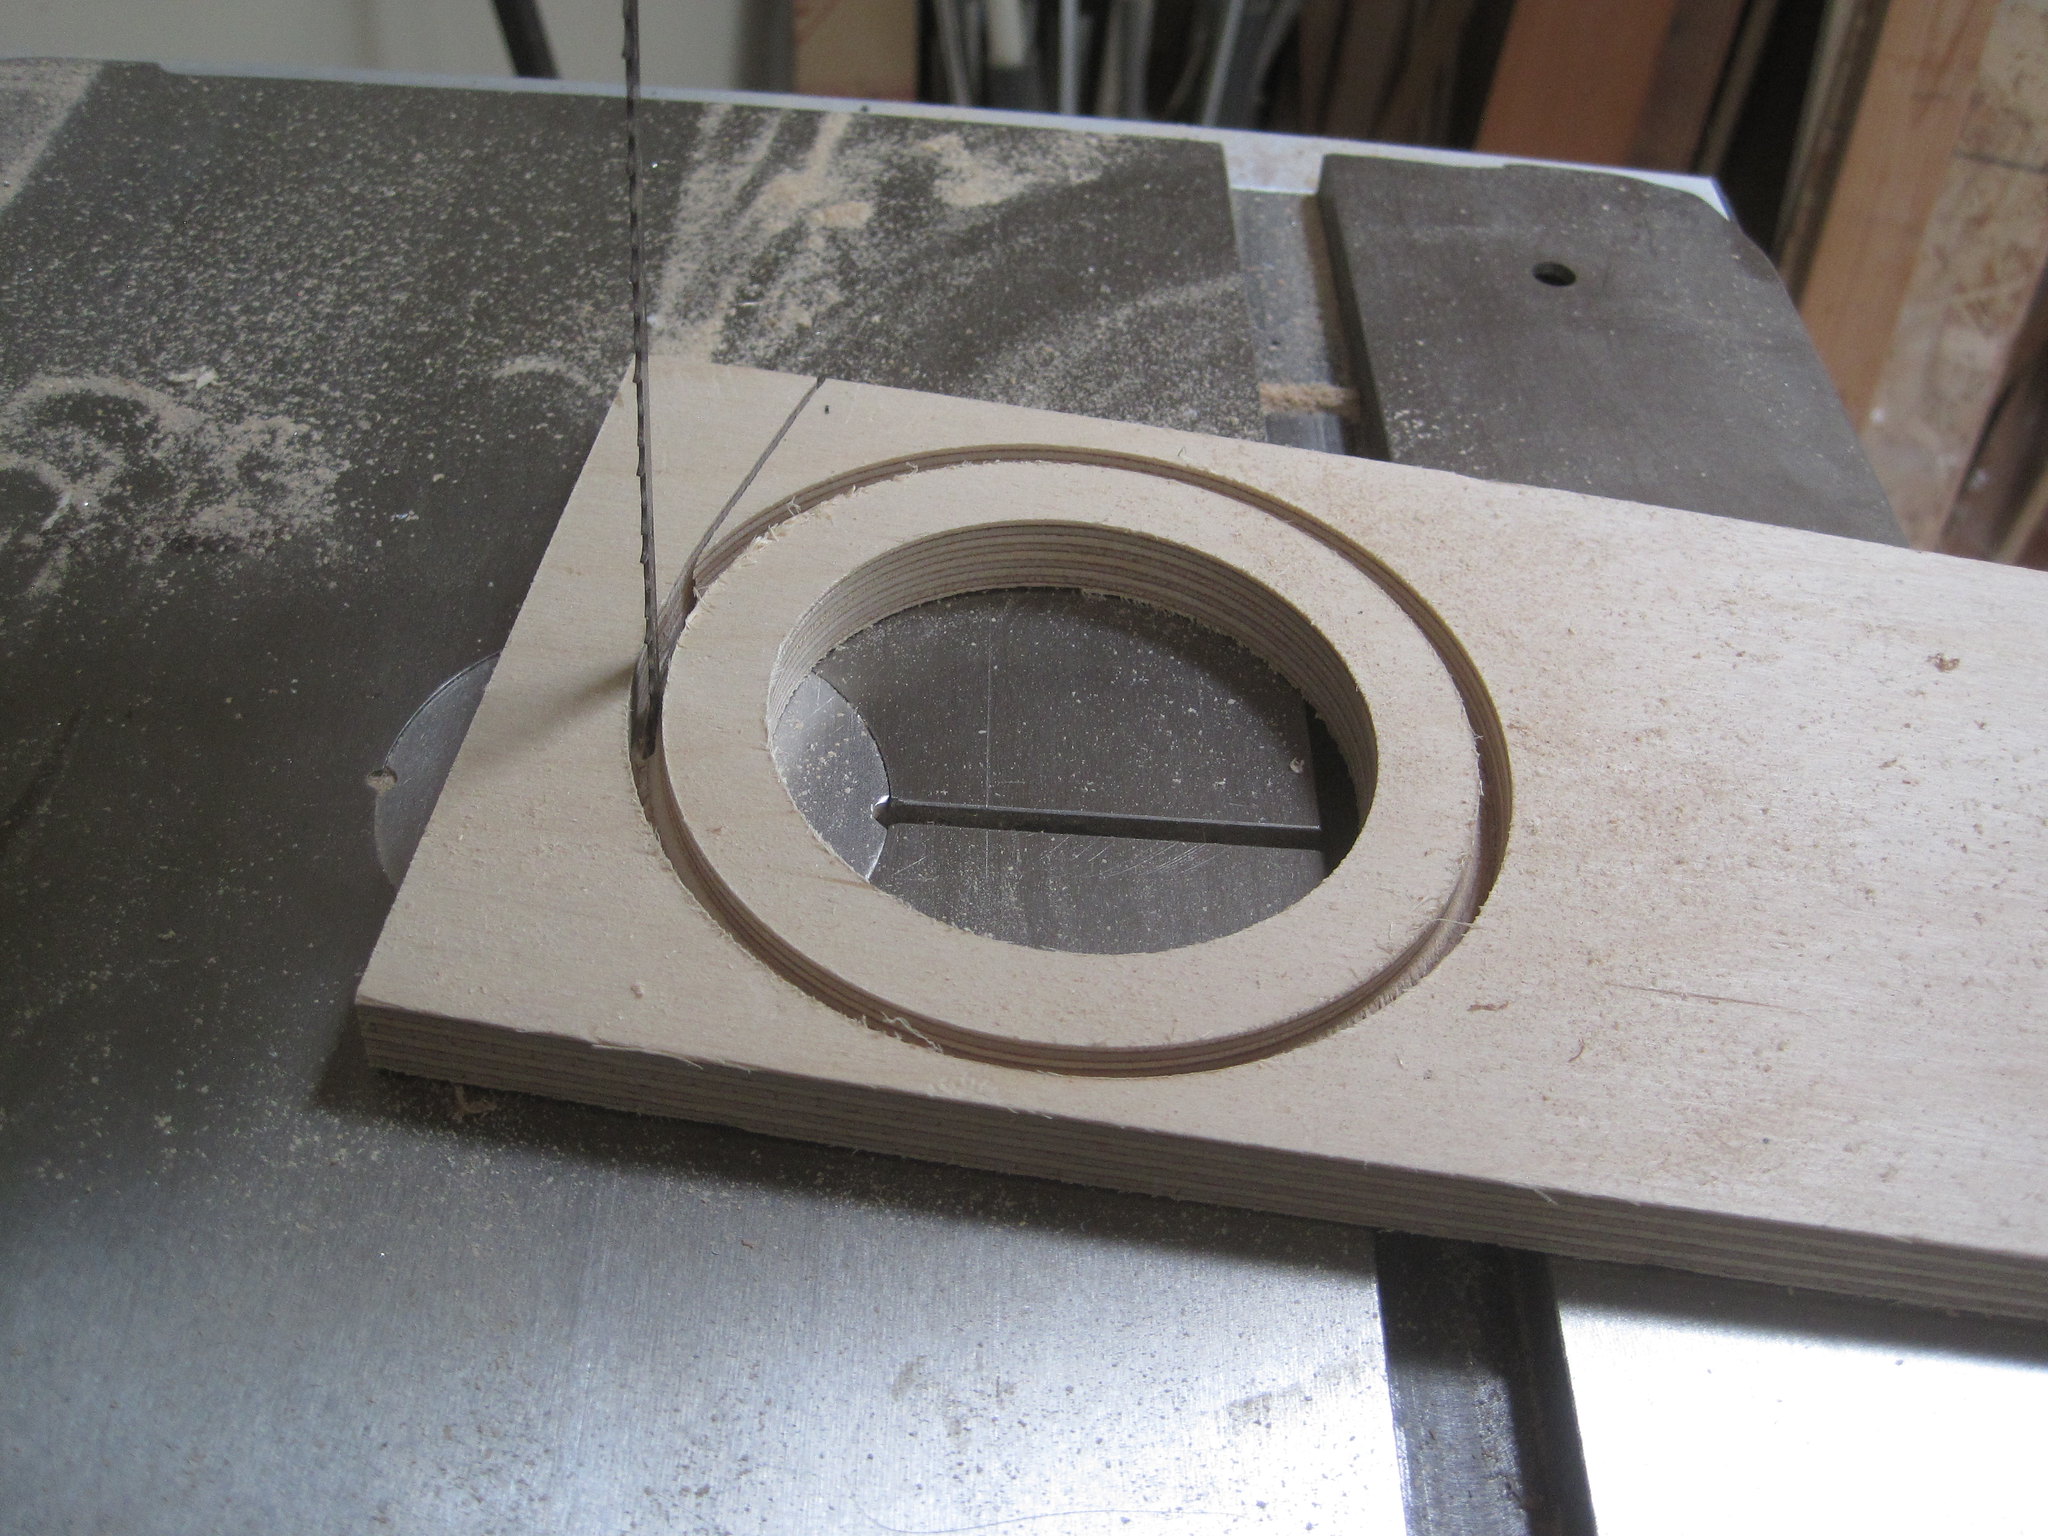
Now the corners all have a 1 1/2" radius. The border pieces are cut to 3" ID from solid stock using a circle cutter. This is a bit out of sequence. The outer diameter was cut first but not all the way through. Then the inner was then cut through. I used a scrap of 1/2" plywood here for the re-enactment since I didn't have a piece of maple I wanted to sacrifice.

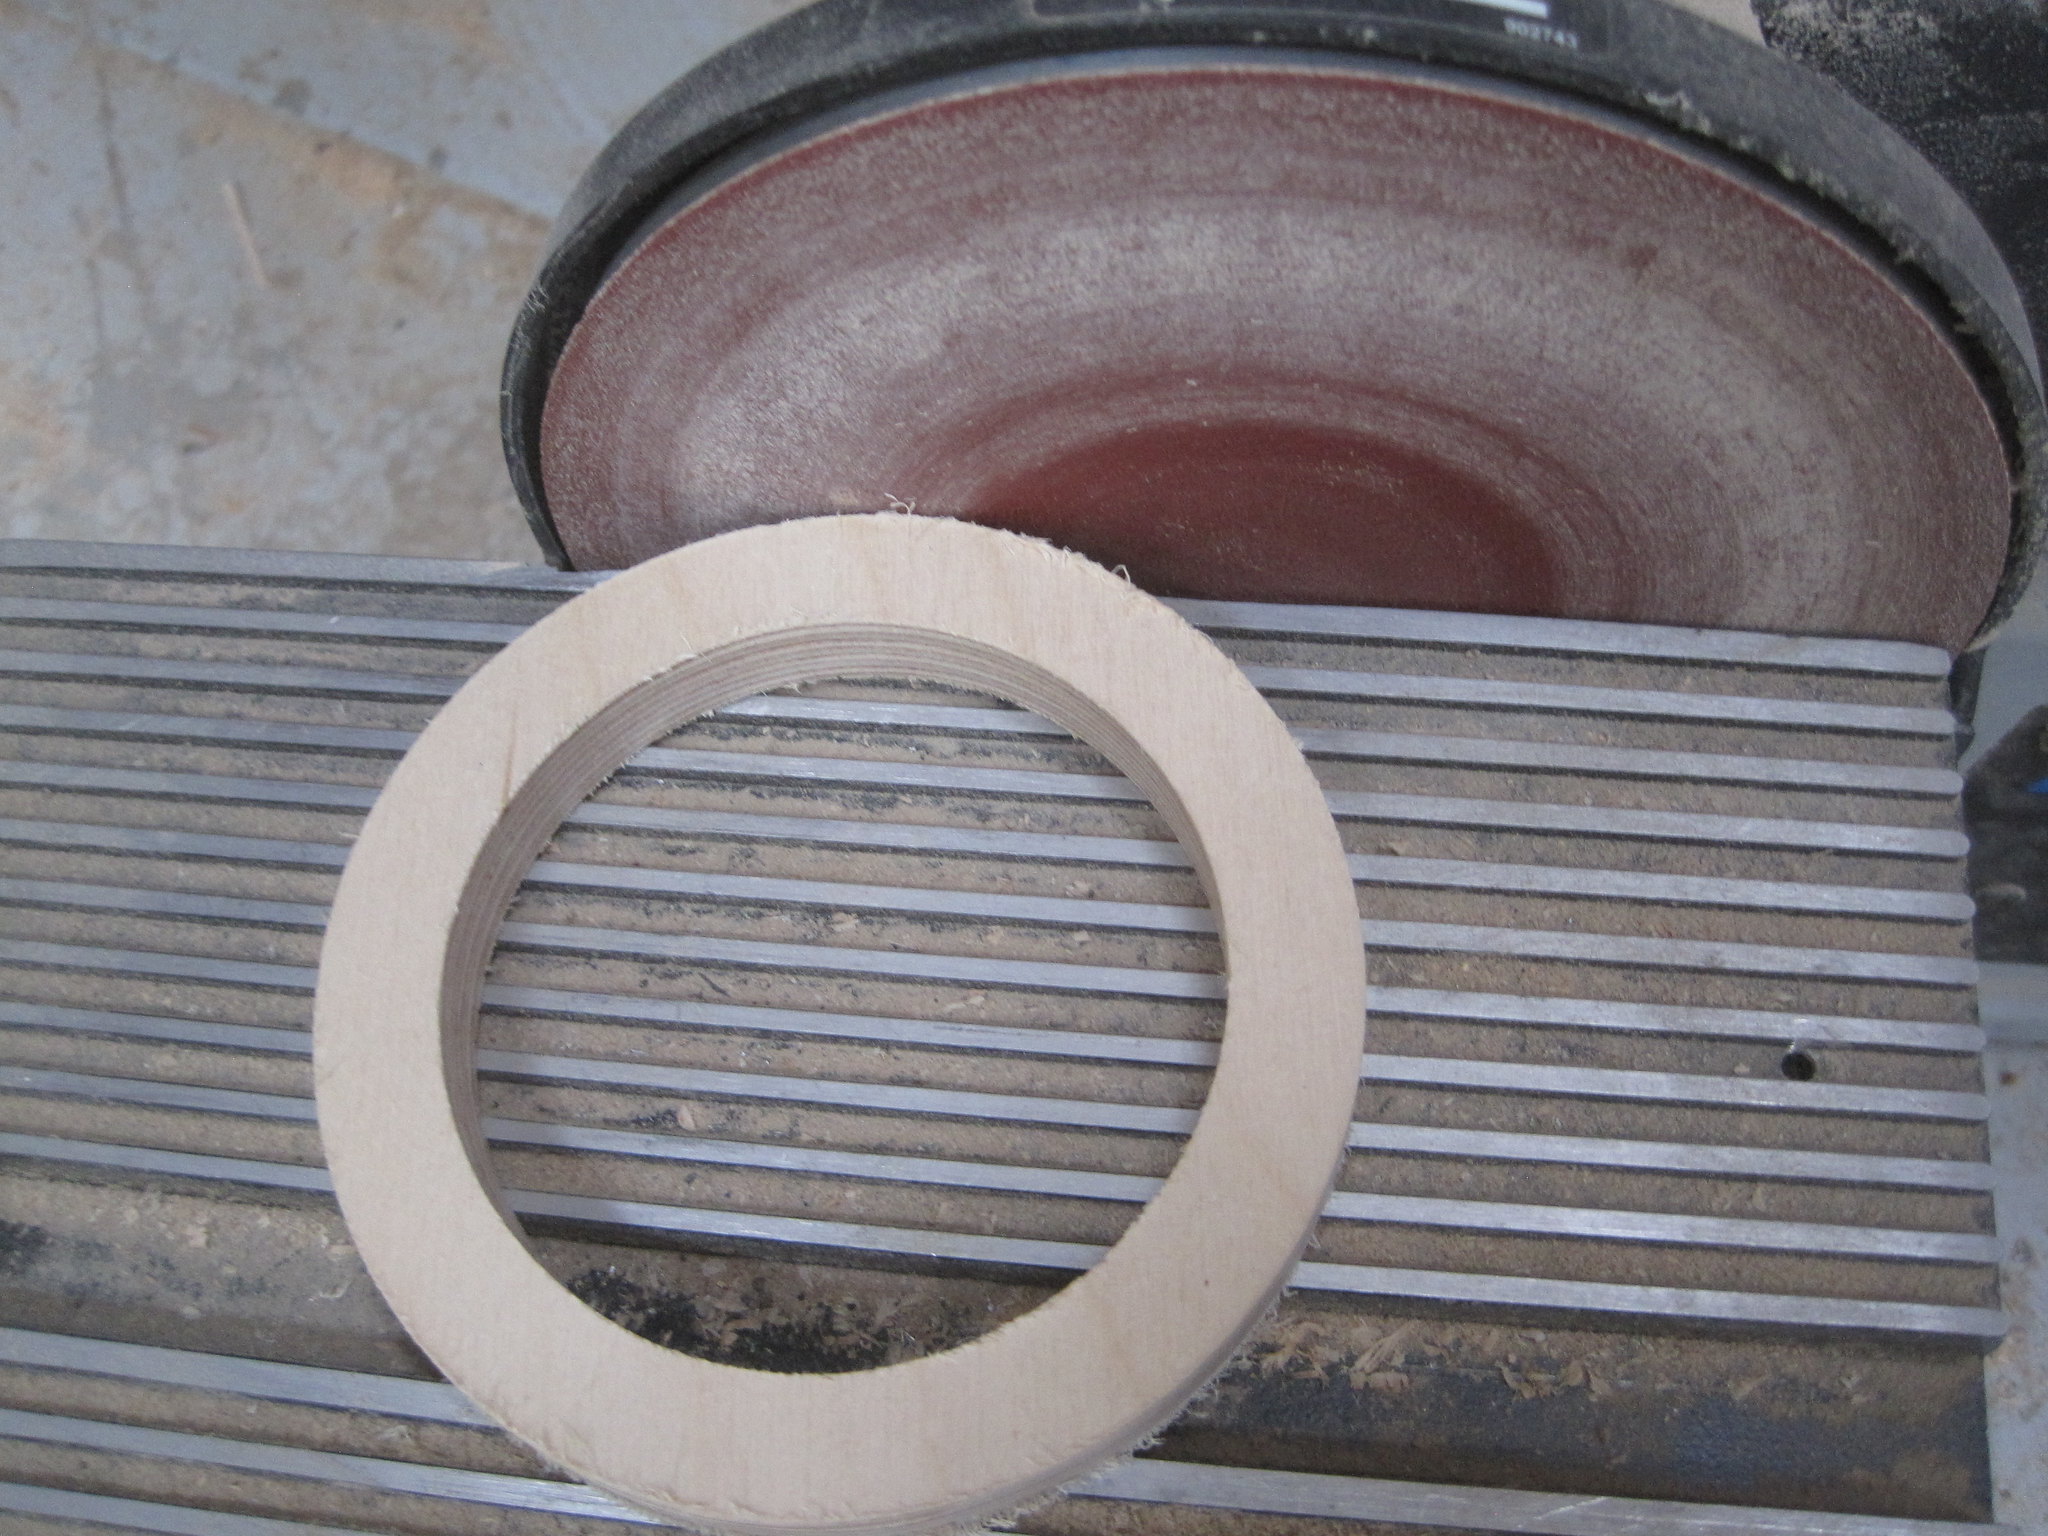
Rough cut the last bit on the OD, then finish off on the disk sander.
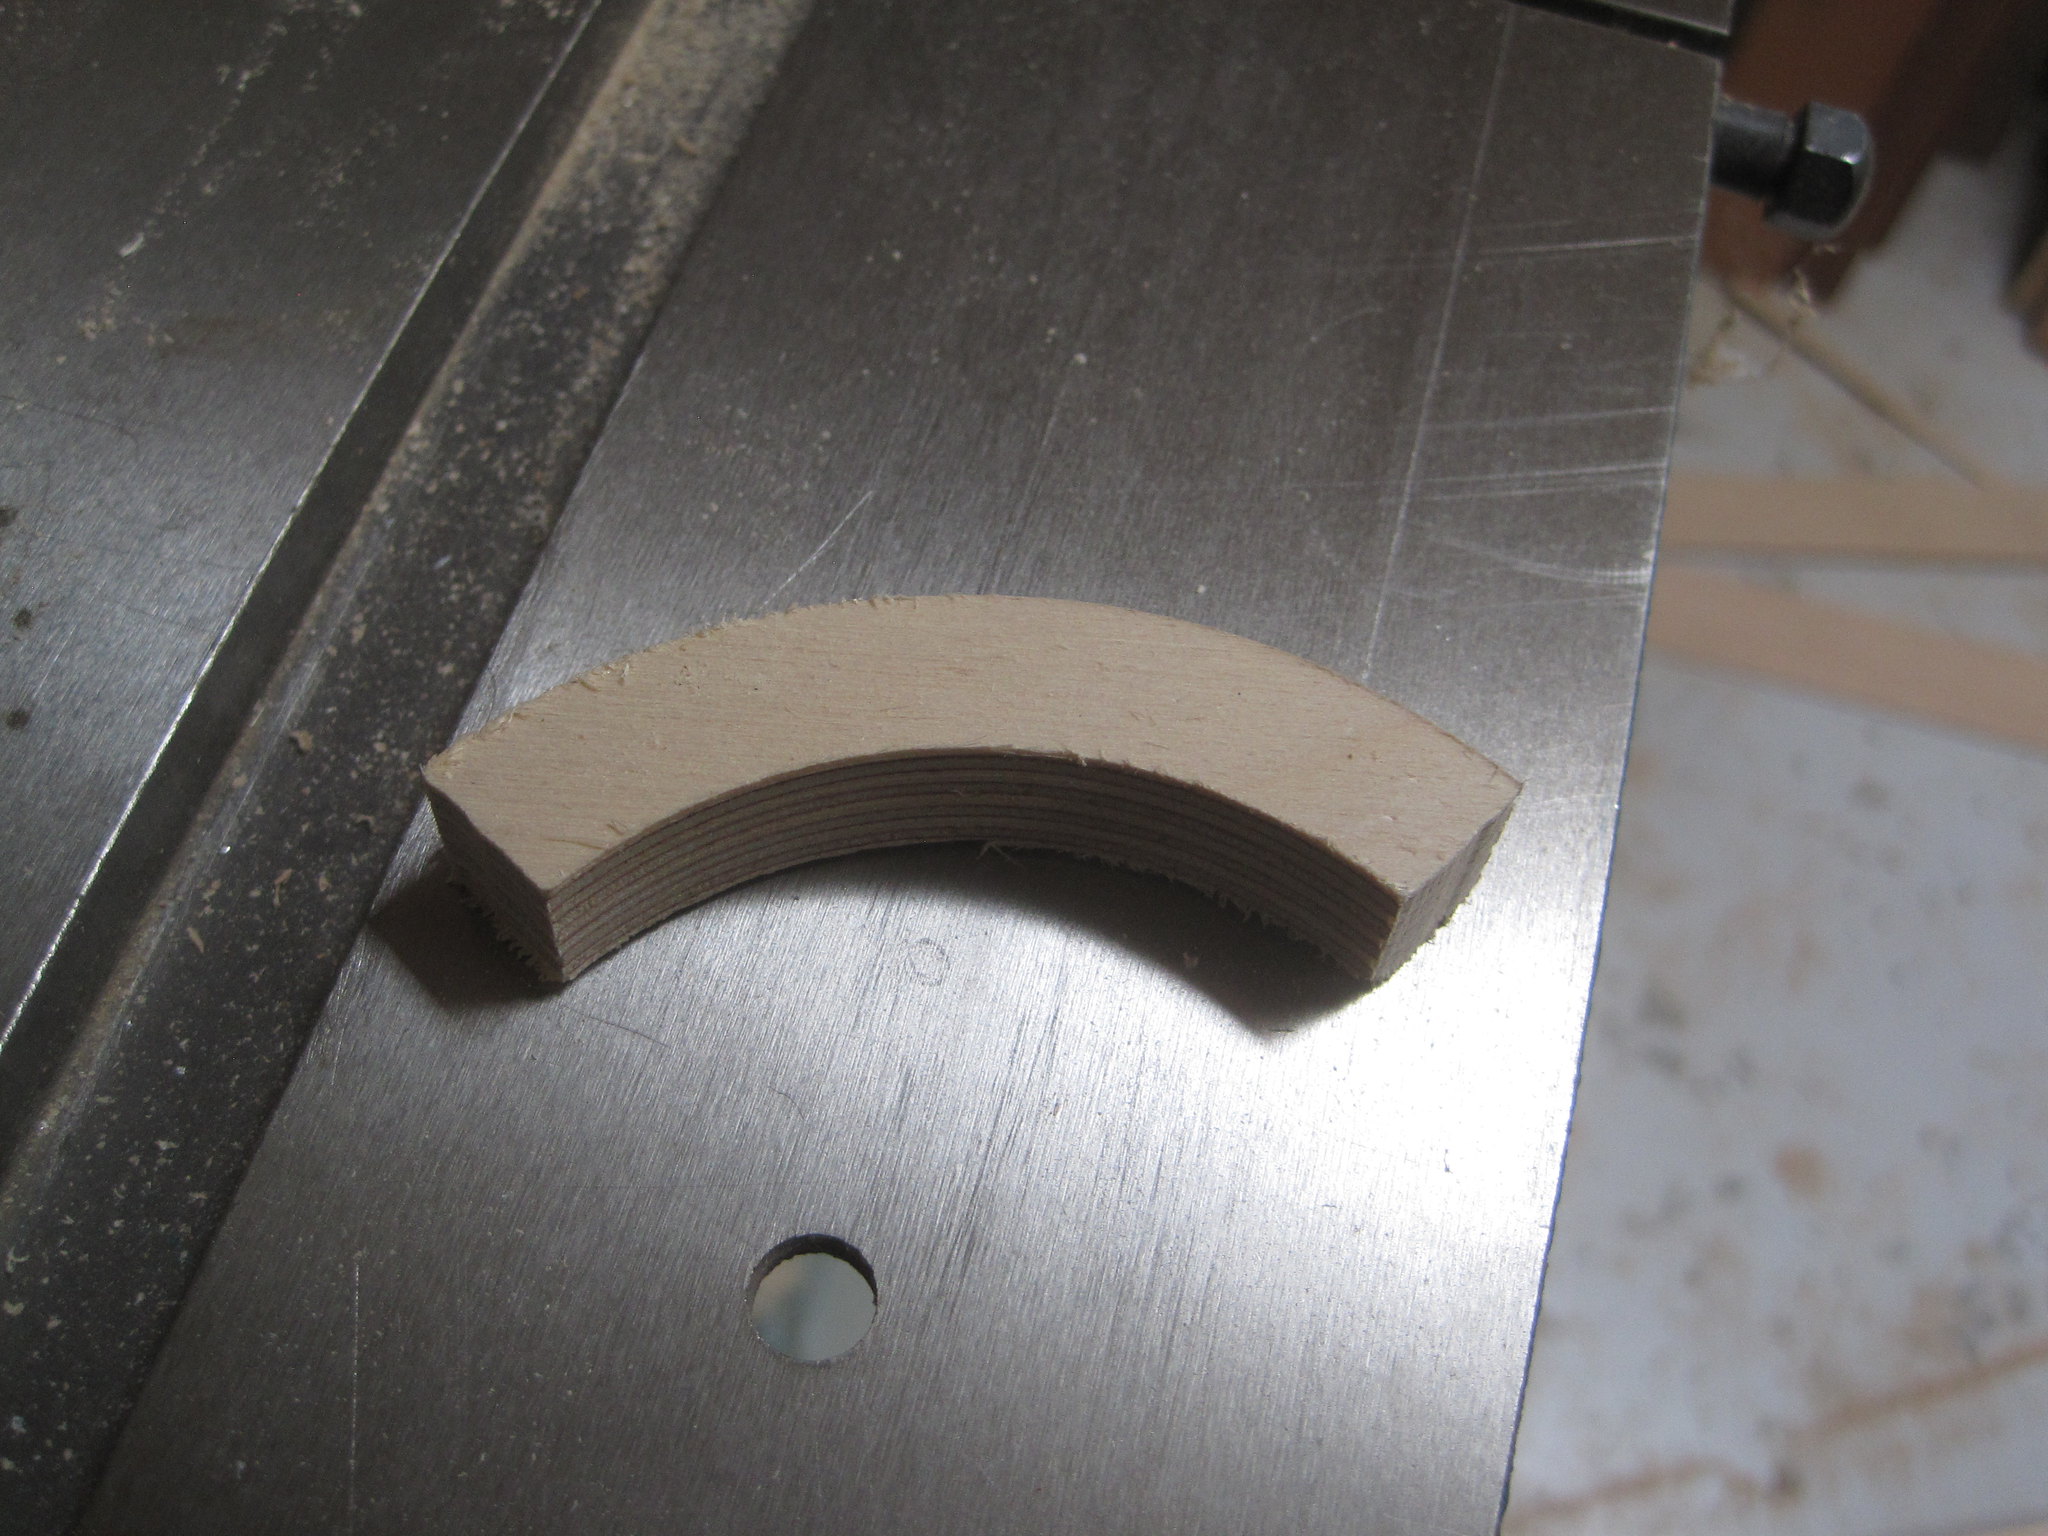
Cut the corner segments. Only got 2 from each circle to get the grain direction right. The angles at the corners were all +/- 90° since the table is not square and 3 of the edges have a large radius.

The corners went on first. I did not get a great of the radii for this demo. The edge trim pieces were a trial and error fit. A scrap was used to get the end cut angles correct then it was trim-fit-trim-fit until it worked. Actually a couple were trim-fit-trim-toss and try again.

The round-over on the edge pieces and sanding to final finish went pretty fast. For a good hard satin finish I use a 2-part automotive Polyureathane satin clear coat. It is waterproof, harder than hell and only has a 15 minute recoat time. It was a fun project that came out OK and is a bit of a hit our get-together cruises.
Messages In This Thread
- Photoday! My boat now has one too many cockpits,...
- Completely unrelated photo day

- Re: Photoday! Holding tank
- Re: Photoday! My wife petting a baby whale.
- That's amazing.

- Re: That's amazing. Hear's one of me petting Mom.
- That is incredible. I've never heard of whales doing that before.
- Re: That is incredible. Check this one out. That's my foot. I
- Re: That is incredible. Check this one out. That's my foot. I
- That is incredible. I've never heard of whales doing that before.
- Re: That's amazing. Hear's one of me petting Mom.
- That's amazing.
- Must be a good week for projects. Here's mine.
- New jewelry...
- Too cool and breezy to finish up the brightwork at the boatyard
- Re: Photoday! My boat now has one too many cockpits,...
- Re: Photoday!/ Thanks for pointing out the single flaw in your entire project. That
- Coupla pics from the old days....first.
- Completely unrelated photo day